
Warum BeeSPuttY ?
Warum ich BeeSPuttY abbackbare Polymermodelliermasse entwickelt habe.
Die Geschichte vom BeeSPuttY
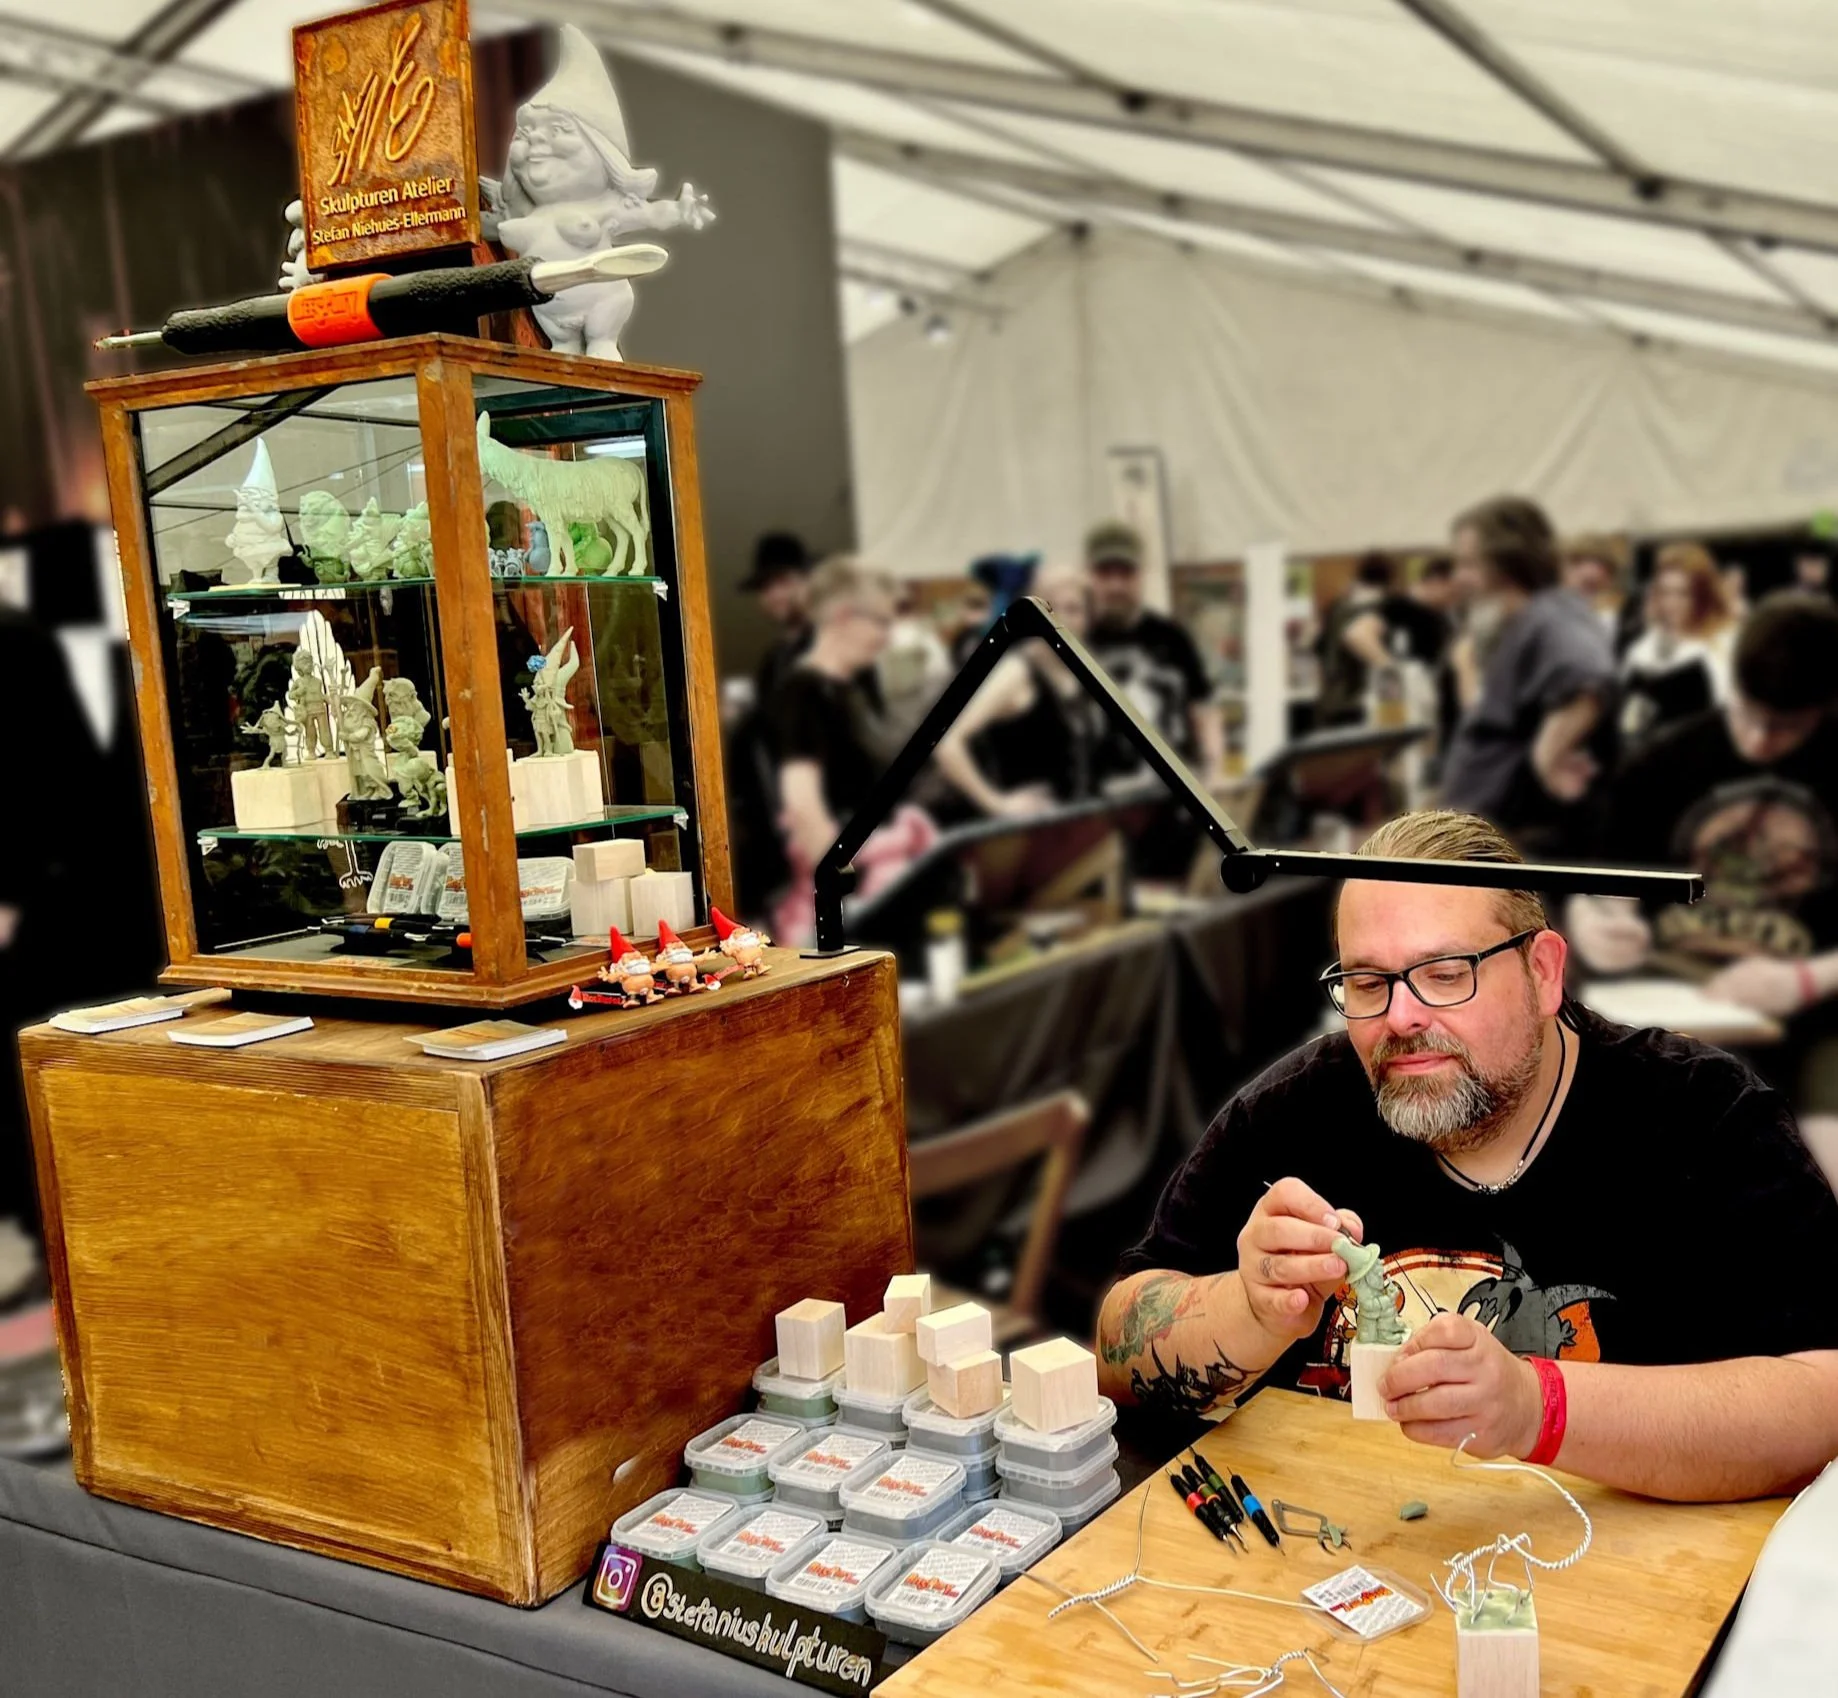
Mein Name ist Stefan Niehues-Ellermann, ich habe BeeSPuttY entwickelt. Ich bin seit 20 Jahren professioneller Modelleur für die Spielzeugindustrie. Da modelliere ich Prototypen welche als Vorlage für die Massenproduktion gebraucht werden. Vor 20 Jahren bin ich mit 2 Komponenten Epoxidharz Modelliermassen angefangen. Es lässt sich damit gut arbeiten nur enthalten die meisten 2K Modelliermassen Hautreizende Stoffe. Dadurch bildete sich eine sehr starke Allergie bei mir aus. So begab ich mich auf die Suche nach Alternativen. Ich habe alle für mich erhältlichen Massen und Methoden ausprobiert. Polymer Modelliermasse schien eine gute Alternative zu sein. Ich kann mich aber bis heute nicht mit den Modelliereigenschaften anfreunden. Ich erkläre mein Problem damit. Polymermodelliermassen basieren auf PVC in Weichmacher, ein sogenanntes Plastisol. Dieses Plastisol hat ähnliche Eigenschaften wie Stärke in Wasser. Es entsteht eine nichtnewotosche Flüssigkeit (Anomal-viskos). Das ist der Grund warum es nicht die Plastizität wie eine wasserbasierte Modelliermasse hat. Wenn man z.B. Modellierton auf eine Armatur auf modelliert und dann auf der aufgebrachten Oberfläche mit einem Modellierwerkzeug arbeitet manipuliert man nur den bearbeiteten Bereich. Wenn man das mit Polymermodelliermasse macht hat man erst das Problem die Masse an der Armatur ans halten zu bekommen. Wenn man diese Hürde genommen hat und jetzt auf der Oberfläche arbeitet, kann es passieren das man den ganzen Block Polymermodelliermasse um die Armatur herum bewegt, anstatt eine partielle -manipulation der Oberfläche zu erreichen. Man muss mit Hilfsmitteln wie Aluminiumfolienkernen arbeiten. Das ganze war sehr frustrierend für mich. Der Ansatz mit der abbackbaren Modelliermasse schien verlockend, die Verarbeitung hingegen macht mir keinen Spaß. Die Idee zur Einwicklung von BeeSPuttY war geboren. Bis zur Marktreife vergingen Jahre und es kostete mich ein kleines Vermögen. Mit BeeSPuttY habe ich beide oben erwähnten Problem auf ein Minimum reduziert. BeeSPuttY ist ein wenig wachsartig klebrig. Durch Handwärme und kneten oder bei größeren Mengen durch den „BeeSPuttY in Plastikbeutel in heißem Wasser in Thermobehälter“ Trick kann es direkt auf eine Armatur oder auf sich selber, auf-modelliert werden. Wenn es nun immer noch Problem mit dem Aufmodellieren auf einer Armatur gibt, gibt es einen weiteren Trick. Man kann ein wenig BeeSPuttY mit Isopropanol Alkohol mittels eines Borstenpinsels zu einer milchigen Flüssigkeit vermischen. Diese Flüssigkeit kann man nun auf die Armatur aufpinseln. Dadurch entsteht eine sehr dünne Haftschicht aus BeeSPutty. Bevor man mit dem Auftragen weitere Masse beginnt, sollte die BeeS-Iso Mischung vollständig getrocknet sein.
Eine der ersten Modelliererfahrungen meine Kindheit basiert auf Bienenwachs. Ich bekam ab und an das Ende einer Bienenwachskerze von meiner Mutter. Die Plastizität von natürlichem Bienenwachs hat mich seither nicht mehr losgelassen. Sie bildet zum einen Grundlage als Vorlage für eine wachsartige Plastizität, zum Anderen ist dieser Bienenwachs Namensgeber für BeeSPuttY.
Um ein Modell zu beginnen benutze ich immer eine Armatur aus Draht. Diese bildet das Grundgerüst und hält das Modell zusammen. Nur So ist es möglich filigrane Modelle zu fertigen. Den Armaturdraht, meistens Aluminium, fixiere ich in einem Klotz aus Balsaholz. Dieser dient mir als Halter, so dass ich das Modell selber nicht anfassen muss. Im laufe der Jahre habe ich auch eigene Formen von Modellierwergzeug entwickelt, diese eignen sich besonders gut zum figürlichen Modellieren da sie eine organische Formengebung erleichtern. Um ein Modell zu glätten kann man wieder Isopropanol Alkohol mittels eines feinen Flachpinsels auftragen. Isopropanol verdunstet vollständig und hinterlässt im Gegensatz zu anderen Lösungsmitteln keine matschige Oberfläche zurück. Um BeeSPutty auszuhärten kommt das Modell in den kalten Ofen und wird bei maximal 140°C 10-30 Minuten gebacken. Anschließend den Ofen ausschalten und das Modell bei geschlossener Ofentür auf Zimmertemperatur runter kühlen lassen. Dieser Vorgang verhindert zum großen Teil eine Rissbildung die alle Polymer -Modelliermassen leider aufweisen. Manchmal ist es von Vorteil wenn man in Schichten arbeitet. Dann kann ein Teil eines Modells ausgehärtet werden um anschließend als Basis für einen weiteres darauf modellieren zu dienen. Dieser Vorgang kann einige Male wiederholt werden. Hierzu gibt es eine weiterführende Backanleitung. Das ausgehärtete und ausgekühlte Modell kann nun noch mit einer weichen Bürste poliert werden. Auch eine weitreichendere Nachbearbeitung, schnitzend, bohrend, schleifend und sägend sind möglich.
Viel Spaß beim Arbeit mit BeeSPuttY Polymerclay,
Stefan Niehues-Ellermann
Why BeeSPuttY ?
Why should I use BeeSPuttY instead of other polymer clays ?
Here comes my answer:
The story of BeeSPutty
My name is Stefan Niehues-Ellermann, I have invented BeeSPutty and I am a comercial sculptor for the toy industry for nearly 20 years now. I have started working with 2 part epoxy putties. They work fine, but as in my case, my skin irritations got more an more an issue due to its toxic components in 2 part epoxies. You also have a small frame of time to work, because once the expoxy is mixed together it starts to cure. So I have always been sculpting in a hurry or in small sections. I have tried all kind of available polymer clays, but I did not get into their properties. Let me explain my problem with other polymer clays. Polymer clay is based on PVC. PVC in platisizer has equal physical properties as cornstarch in water. It's a nonnewtonian fluid (anomalviskos), that's the reason why it's not good for sculpting like a waterbased clay for example. If you sculpt waterbased clay or a soft sculpting wax around an armature and work on its surface with a sculptingtool you only affect the area you are working on with your tool. If you do this with a polymer clay you first will have problems to get it t stick firmly enough to your armature. If you managed that using an epoxie putty bondinglayer or what ever and try sculpt on an area of the surface you will move the whole block of polymer clay around your armature. You have to work with aluminiumfoil cores or what ever. This was very frustrating for me. With inventing BeeSPutty I have solved both of those problems to a possible maximum. BeeSPutty is a bit sticky, if you have conditioned it with your warm hands by kneading or using the "BeeSPutty IN plastic bag IN hot tab water IN thermo jar" trick it can be applied directly onto an armature or to itself, cured or uncured. If you still have probelms get it stick to your armature you can solve a bit of BeeSPuttY in Isopropanol alcohol with a bristol brush. Brush this liquid onto your armature. Let it dry. Now you have a thin film of BeeSPutty on your armature as a bondinglayer.
The second thing is I have had the properties of beeswax in mind and tried to get something similar to the sculptingproperties of natural beeswax. I also wanted to have a material, that once baked could also be carved, sanded and polishd in the best possible way. All this is based on the best ingredients I can get to make BeeSPuttY, no compromises on price with fillers or other components. My goal is best product for the job. If you get a pack of BeeSPuttY, put the needed amount of BeeSPuttY out of the box and condition it by kneading it with your warm hands until you feel the wonderful plasticity, now you're good to go and can just start your project. For sculpting always use an armature e.g. aluminium wire fixed to a block of balsa wood or wooden base. That makes it easier for you to handle the sculpt. You can smooth your sculpture using Isopropanol alcohol on a smooth brush. To cure, bake BeesPuttY in an oven at a maximum 140°C and leave it inside until it has cooled down to room-teperature. There are further baking instuctions available. BeeSPuttY can also be baked several times,should you like to work in layers, just repeat the previous steps from the baking instructions. The baked and cooled sculpture can be easily polished with a smooth brush to get a shiny, waxlike finish.
Enjoy sculpting with BeesPuttY,
Stefan Niehues-Ellermann